Set up email filters
Email filters allow incoming messages to be organised automatically.
The filters should be set in the webmailer. The filters set there take effect before all other filters set (e.g. filters set up in Thunderbird, Outlook etc.).
- Allgemeinen Filter einrichten
2.

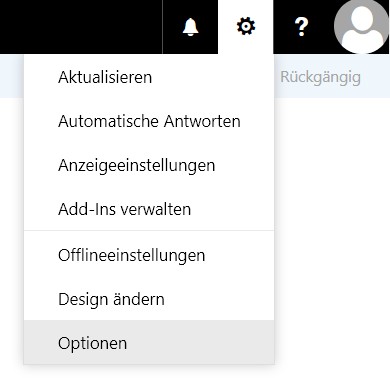
New filters are set up via the gear icon > Options > Email > Automatic processing > Inbox and clean-up rules.
3.
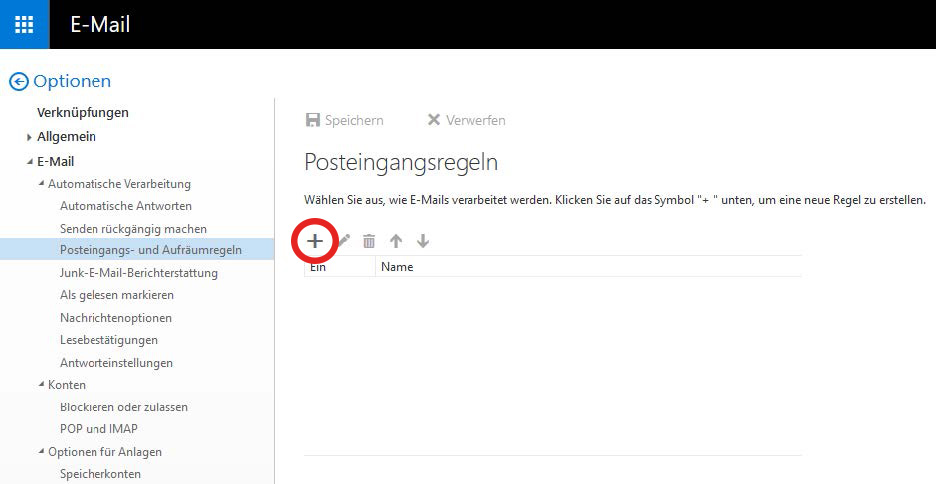
Use the + symbol to create a new rule. Existing filters can be subsequently edited, deleted or deactivated.
4.
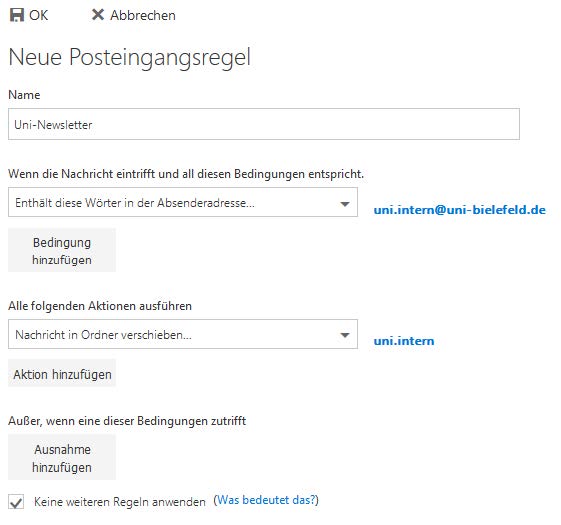
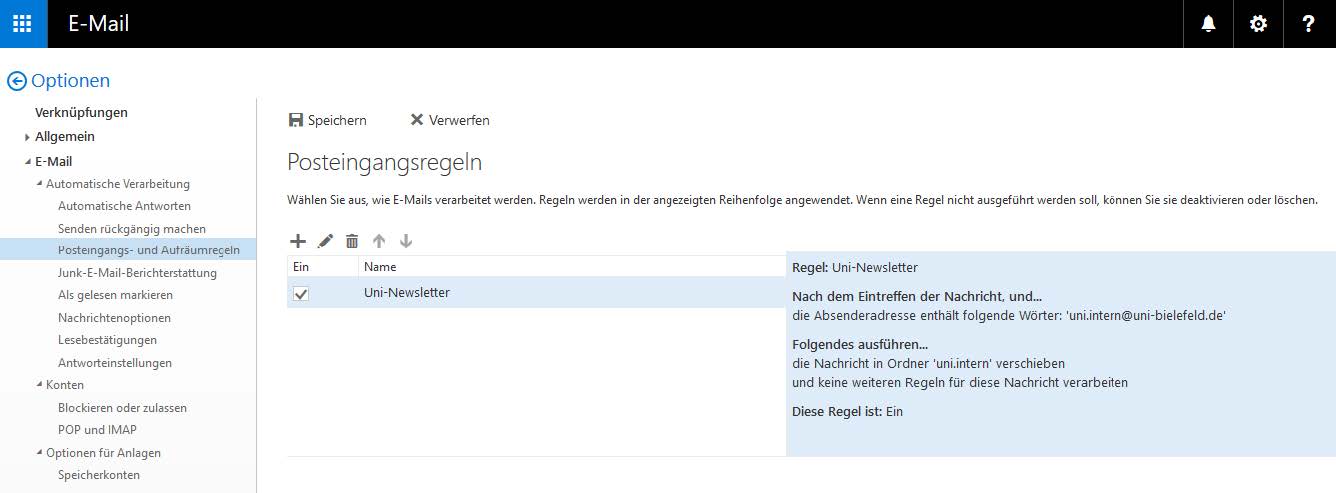
In the following example, an email filter is set up that moves all incoming emails from the sender uni.intern@uni-bielefeld.de to the email folder "uni.intern".
Finally, confirm with OK at the top.The webmailer's online help contains further explanations of the options and settings for email filters/inbox rules.
- Delete unwanted email directly
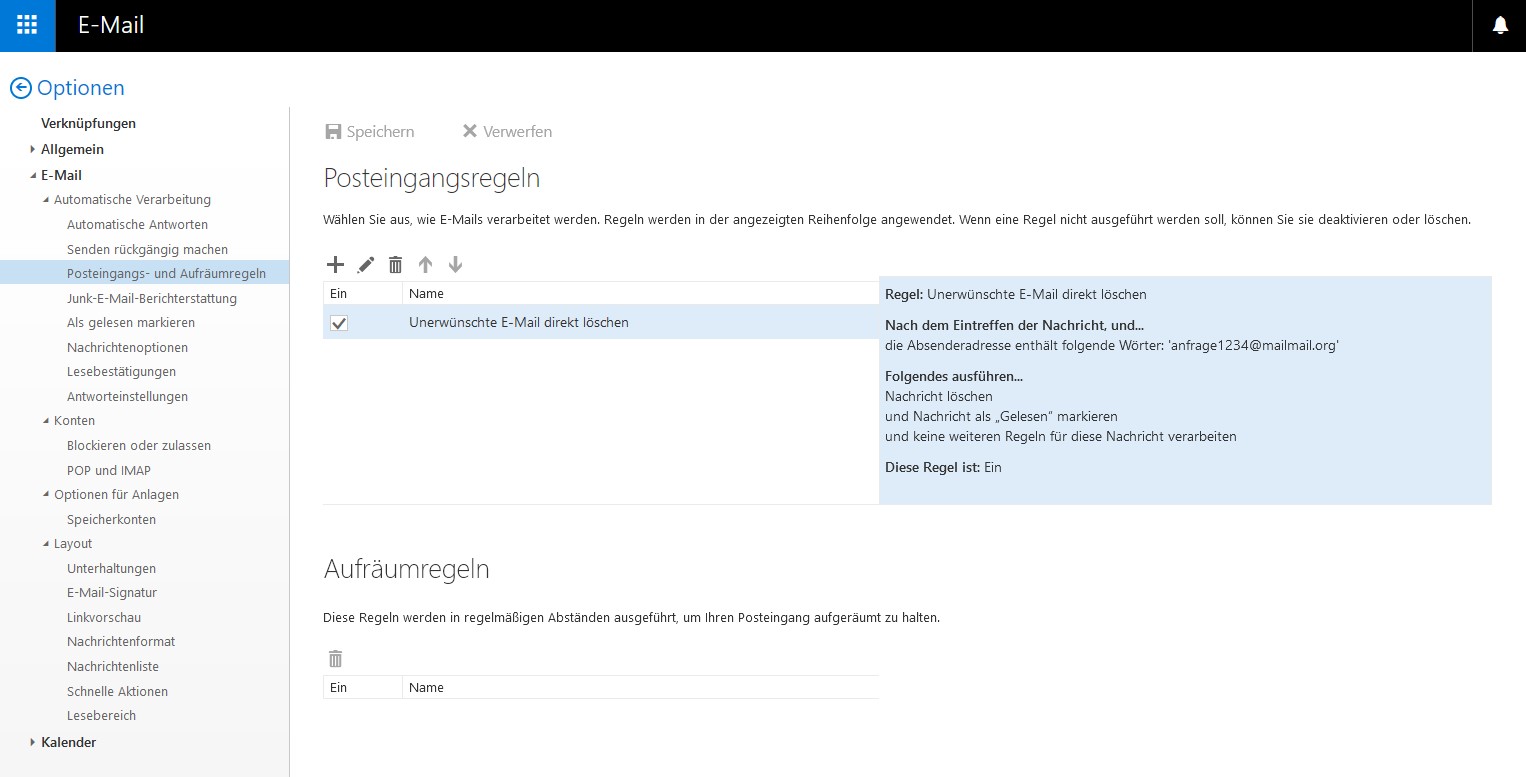
In the following example, an email filter is set up that deletes all incoming emails from the sender anfrage1234@mailmail.org directly and sets them as read. This means that all incoming emails from this address end up directly in the Deleted Items folder.
2.
New filters are set up via the gear icon > Options > Email > Automatic processing > Inbox and clean-up rules.
3.
Use the + symbol to create a new rule. Existing filters can be subsequently edited, deleted or deactivated.
4.
-> Name:
Freely selectable-> When the message arrives...:
Contains these words > in the sender addressEnter the unwanted address there, add it using the + symbol and confirm with OK .
-> Perform all of the following actions:
1. Move, copy or delete > Delete message
2. Mark message > as readFinally, confirm/save with OK at the top.